Troubleshooting & Analysis
Two little pods, six bucks apart, and me standing at the kitchen counter
Here's the exact moment. I'd just descaled my Keurig — the one that lives on my counter and gets abused two, sometimes three times a day — and the water filter holder was sitting there empty, looking accusatory. So I'm on my phone, and there are two tabs open. One is the genuine Keurig water filter refill cartridges, the little charcoal pucks, running about $15 for a six-pack. The other is a compatible twelve-pack for around $12. Same charcoal, same job, double the count, less money. And I just stood there for a second doing the math and feeling that familiar twinge: the cheap one is going to be junk, right? It's going to let scale through and I'm going to be buying a new brewer in eight months.
I bought the compatible ones. I've now been running them for the better part of a year. So let me tell you what actually happened instead of what the box promised.
The money, laid out plainly
Keurig wants you replacing the charcoal cartridge every two months. That's the official line and honestly it's about right if your tap water is anything like mine. So six cartridges is a year of filtering. The genuine refills at roughly $15 for six pencils out to about thirty cents a brew-month per cartridge — fine, not outrageous. But the compatible twelve-pack I grabbed for about $12 gets me two full years of replacements for less than the price of one OEM six-pack. That's the part that finally tipped me. We're not talking about a wild $40-versus-$20 chasm here like you'd see with a fridge filter — it's a smaller gap in raw dollars. But it's a gap that repeats forever, and twice as many in the bag means I actually swap them on schedule instead of stretching a tired one to four months because I'm cheap and lazy. Which, frankly, was the bigger health problem with my old habits.
Do they fit? Yeah — but there's a fiddle
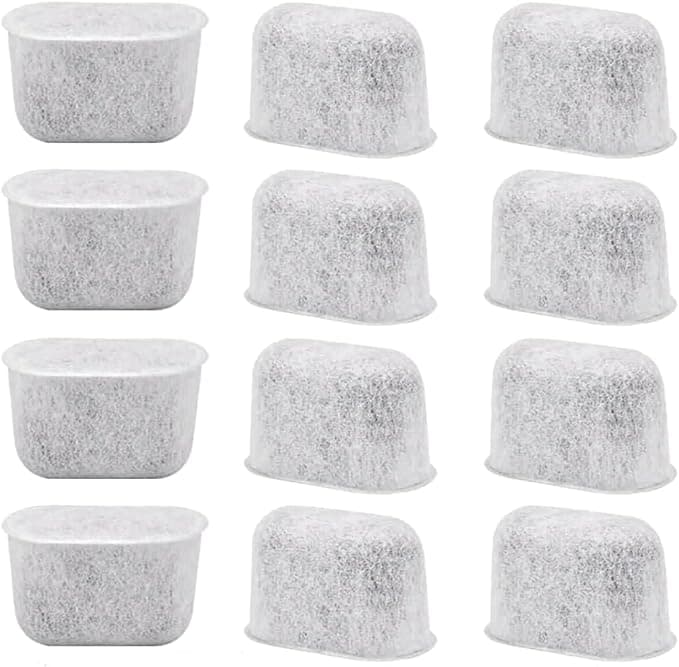
The cartridge itself is the same lozenge shape and it drops into the Keurig filter holder cleanly. No shaving, no forcing. The way I do it: soak the new puck in a cup of water for about five minutes first — you'll see little bubbles come off the charcoal, that's normal, that's air leaving — then push it into the lower half of the holder, snap the mesh cap back on, and set the whole assembly down into the reservoir so the date dial is where I can see it. Click, seated, done.
The one honest fit gripe: the plastic holder clip on the compatible pods is a hair less crisp than the genuine one. On the OEM, the cap closes with this confident little snap. On these, two out of my twelve felt slightly loose on the first close — I popped the cap off and reseated it and it held fine after that. Annoying for ten seconds. Not a dealbreaker. If you're someone who needs every click to feel premium, this'll bug you a tiny bit.
The performance honest take
Here's what matters: does the water taste right and is it keeping gunk out of my machine? Yes on both, with one caveat.
The taste difference between filtered tap and my old unfiltered habit is real and immediate — that flat, slightly mineral edge my coffee used to have is just gone. Cleaner cup. The compatible charcoal does that job genuinely as well as the Keurig-branded pucks did; I did a back-to-back week with one of each and I could not tell the brewed coffee apart in a blind sip test with my wife calling them out. So on the thing you actually drink, it's a wash.
The caveat is the break-in. For the first two or three days after I install a fresh compatible cartridge, there's a faint — and I mean faint — almost papery charcoal note on the very first cup of the morning. The OEM ones had a touch of this too, but it was gone after one brew; the compatibles took a couple of days to fully settle. The fix is dead simple: when you put a new one in, run one throwaway 8-ounce brew of plain hot water through and dump it. Do that and you skip most of the break-in entirely. I didn't know to do that the first time and spent a morning suspicious of my own coffee for no reason.
The downside I want to be straight about
Two things, and I'd rather you hear them from me than find out yourself.
First, the packaging is cheap. The genuine refills come in this tidy little resealable pouch. The compatible twelve-pack showed up in a plain bag with the cartridges loose inside, and a couple had a bit of loose charcoal dust on the outside mesh. Doesn't affect a thing once you soak and rinse them — but if you're the kind of person who judges a product by its unboxing, this is a budget unboxing. It looks like what it is: a no-frills bulk pack.
Second — and this is the one that actually matters — these filters do not replace descaling. I've seen people assume a water filter means they never have to descale, and that's how Keurigs die. The charcoal puck handles chlorine taste and grabs some sediment, but it does not stop the mineral scale that builds up inside the heating element over months. Scale buildup is the single most common reason these machines quit on you — the pump strains, the brew slows to a sad trickle, and one day it just won't heat. The filter helps. It is not a force field. You still descale every three or four months, filter or no filter. I keep a recurring reminder on my phone for exactly this reason, because past-me would absolutely forget.
So who should buy which
Buy the genuine Keurig refills if you're still under warranty and you're the anxious type who wants zero variables if anything ever goes wrong — Keurig support is going to be happiest if everything in the machine wears their name, and that peace of, well, that confidence is worth six bucks to some people. No judgment.
But for me? I run a compatible charcoal cartridge, I rinse it with a throwaway brew on day one, I swap it every two months because having twelve in the bag makes me actually do it, and I descale on schedule no matter what's in the reservoir. Same clean cup, the machine's been humming along fine for ten-plus months, and I'm two years deep on filters for what one OEM pack would've cost. I'd buy them again. I already have — I'm on my second bag.


