Troubleshooting & Analysis
The first thing I noticed was the smell — or rather, that there wasn't one
I'd braced for it. You buy a third-party charcoal filter for your Keurig, you twist it into the little holder, drop it in the tank, and you half-expect that first cup to taste like a swimming pool or a new shower curtain. That faint plastic tang. I got a whisper of it on day one, honestly — a soft new-cartridge smell when I lifted it out of the bag — but the coffee itself came out clean. No chlorine bite, no weird aftertaste sitting on the back of my tongue. I'd soaked the thing in a glass of water for five minutes first, like the instructions say, and I think that matters more than people realize.
So let me back up and tell you why I even went looking for these.
The OEM price is quietly ridiculous
Keurig's own water filter cartridges aren't expensive in the way an OEM fridge filter is expensive — nobody's charging you sixty bucks. But here's the math that bugged me. A genuine Keurig 6-pack runs around $15, and you're told to swap the filter every two months. That's two cartridges a year, give or take, so call it roughly $15 a year if you buy the small pack, more if you don't stock up. Fine. Not painful.
Then I found a compatible 12-pack for about $9. Twelve. Do that division and you're paying something like 75 cents a cartridge instead of $2.50. Over the life of the machine — and these brewers stick around for years — that gap stops being pocket change. I'm not switching coffee brands to save a dollar a bag, but a filter that does the exact same job for a third of the price? That got my attention.
The job, by the way, is real. This isn't a luxury accessory. The charcoal pulls chlorine and the off-tastes out of your tap water before it ever hits the heating element. Skip it and two things happen: your coffee picks up whatever your municipal water tastes like, and scale starts creeping into the guts of the machine. Mineral buildup is genuinely the thing that kills these brewers — clogged lines, weak pump, that sad half-cup that dribbles out. A filter doesn't make that problem vanish, but it slows it down, and it makes the descaling you still have to do less of a fight.
Does it actually fit, or do you have to fight it?
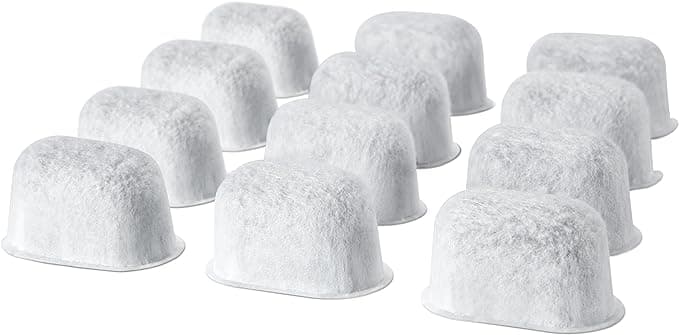
This is where compatibles usually show their seams, so I went in skeptical. The cartridge itself dropped into the holder with a clean little click — same two-piece holder design, the disc seats, you set the date dial, done. No shaving, no forcing, no "well it kind of stays if I push it." It sat flush.
I'll give you the one honest fit nitpick: the plastic on the holder clip felt a hair thinner than the Keurig original. Not loose — it held fine in the tank, never floated, never rattled — but if you're the type who notices that a knockoff feels a few grams lighter in the hand, you'll notice it here. After two months of it doing its job in my tank, that thinner plastic hadn't cracked, warped, or done anything but sit there quietly. So it's a feel thing, not a function thing.
The install steps are dead simple and I'd tell you not to skip the first one. Soak it five minutes. Press it into the holder. Set the holder into the water tank, push down until it's seated. Mark your calendar two months out. That's the whole ritual.
The honest performance take
For the actual reason you'd buy this — making your water taste like nothing so your coffee can taste like coffee — it's a wash with OEM. I ran a side-by-side the nerdy way: brewed a cup through my old genuine cartridge, swapped in the compatible, brewed the same pod, tasted them back to back. I could not reliably tell them apart. My tap water is moderately hard with a noticeable chlorine note straight from the faucet, and both filters scrubbed that out to the same clean baseline.
Where's it a touch behind? Honestly, the only place I'd give OEM a real edge is consistency you can't see. Keurig's quality control on the carbon fill is probably tighter cartridge-to-cartridge. Out of my 12-pack, eleven were identical and one had slightly less carbon packed in — you could feel it was a gram lighter. It still worked. But that's the tradeoff of buying the cheap bulk pack: a little more unit-to-unit variation. With OEM you're paying partly for the boredom of every one being the same.
The downsides, said plainly
So here's everything I'd flag before you buy, because a review with no warts is a sales pitch.
- The packaging is cheap. A thin poly bag, no individual wrapping, the cartridges just rattling around together. It feels like a no-name product because it is one. Doesn't affect the filter, but if you're giving it as part of a gift bundle, it looks like what it is.
- That faint plastic smell on cartridge one. Mild, gone after the soak and the first brew, but it's there. If you're sensitive to it, run a tank of plain water through before your first real cup.
- Slight pack-to-pack variation. The carbon fill isn't perfectly uniform. One light one out of twelve. Not a dealbreaker at this price, but it's the honest tradeoff for buying in bulk.
- No brand hand-holding. If something's off, you're not getting Keurig's customer line — you're dealing with whoever sold you the bag. For a sub-ten-dollar filter, I can live with that.
Who should just buy OEM
If you own a higher-end brewer that's still under warranty and you're the cautious type, buy the genuine cartridges and don't think about it — the few extra dollars a year buys you a clean conscience if anything ever goes sideways with the machine. Same if you only drink a cup a week; you'll barely go through filters either way, so the savings are too small to chase.
But for me — daily brewer, hard-ish water, going through a cartridge every two months like the schedule says — the compatible is the obvious grab. It seated right, it tastes identical, it's protecting my machine from the same scale, and it costs me roughly a third of what the name on the box would. I've now reordered the 12-pack twice. The first one was a test. The second one was me just buying my filters. That's the most honest endorsement I've got: I stopped thinking about it and it became the thing I just buy.
Soak it five minutes, click it in, mark two months on the calendar. For about nine bucks a year, your coffee tastes like your coffee and your Keurig lives longer. I'd buy it again — and I have.


