Troubleshooting & Analysis
The math that finally got me off OEM
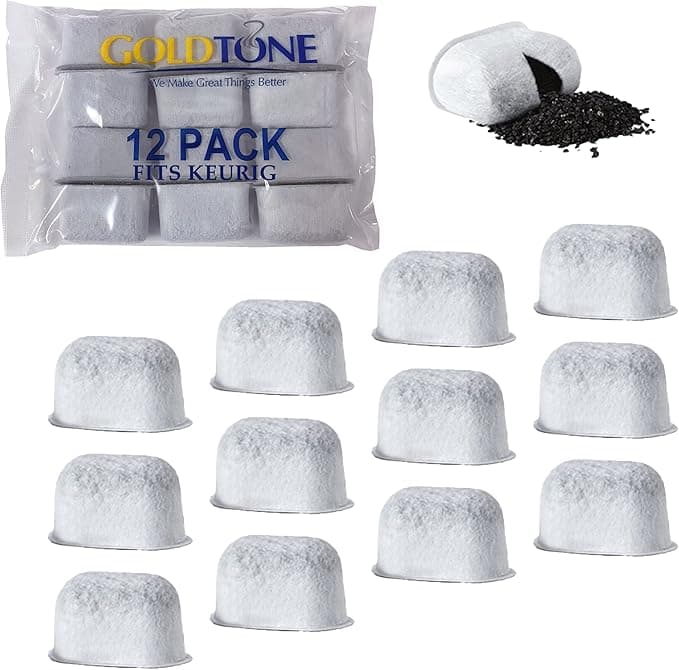
Here's the number that broke my brain a couple years back. I was standing in my kitchen with a Keurig water filter cartridge in each hand — the genuine Keurig refill on the left, a third-party one on the right — and the difference per filter was about a dollar fifty. Doesn't sound like much. But these things get swapped every two months. Six a year. And I run two machines, one at home, one I keep at my desk.
So do that out loud. A genuine Keurig 6-pack ran me around $15 at the time, which is $2.50 a filter, $15 a year per machine. The compatible 12-pack I was eyeing was about $13 — call it a dollar a filter, $6 a year per machine. Across both Keurigs that's the gap between roughly $30 and $12 a year for the exact same job: a little puck of charcoal sitting in the tank, pulling chlorine and funk out of the water before it ever hits the brew. Eighteen bucks a year isn't life-changing. But I genuinely could not come up with a reason the brand-name charcoal was worth more than double. So I tested it. For a long time.
What the filter actually does (and why a dead one is a problem)
People think the cartridge is about taste, and it is — partly. Charcoal grabs chlorine, and chlorine is what gives tap-brewed coffee that faint pool-water edge you can't quite name until it's gone. But the bigger reason I stay on top of these is scale. Mineral buildup is the thing that quietly kills Keurigs. Once that gunk coats the heater and the narrow internal lines, you get weak pressure, half-full cups, and eventually a machine that throws a fit and won't pump. A fresh filter slows that down. A saturated, forgotten one does basically nothing — it's just a dirty sponge sitting in your tank at that point, and arguably making the water worse than no filter at all.
That's why I don't love the "eh, I'll change it whenever" approach. Two months is the interval for a reason. And honestly, the cheaper the filters are, the easier it is to actually replace them on schedule instead of stretching one to four or five months because you feel bad tossing a $2.50 part.
Does the compatible one actually fit?
This was my first worry, because a filter that doesn't seat right is worse than useless — it'll let unfiltered water sneak around the edges. Good news: on the packs I've used, the cartridge and the holder are the same basic clamshell design as Keurig's. The carbon puck drops into the little basket, the two halves click shut, and the whole assembly presses down onto the post in the bottom of the water tank.
The install itself is dead simple and I'll tell you the one step people skip: soak it first. Drop the new cartridge in a cup of water for about five minutes before you do anything else. This rinses out loose carbon dust and lets the charcoal saturate so it works from cup one instead of cup ten. Then snap it into the holder, push the holder down onto the tank post until it's flush, fill the tank, and run a couple of cleansing brews with no pod before you make actual coffee. Skip the soak and your first few cups can taste a touch dusty — that's not the filter being bad, that's you being impatient. Ask me how I know.
Fit-wise, the only nitpick: on one off-brand pack the holder clip felt a hair less crisp when it clicked than the genuine Keurig holder does. It still locked. It still sealed. But the plastic had that very slightly cheaper, hollower feel. Did it affect the water? No. Did I notice? Yeah, every time I changed it.
The honest downsides
Let me not pretend this is free of trade-offs, because that's the kind of review I hate reading.
First — quality control is streakier than OEM. Out of a 12-pack I had one cartridge where the carbon seemed a little under-filled compared to its siblings. It still worked fine, but if you're the type who weighs things, you'll spot small batch-to-batch differences the brand-name boxes hide better. With Keurig's own refills, every puck looks identical. With the budget packs, they're 95% identical, and that 5% is real.
Second — the first day or two, the water can carry the faintest neutral, slightly plasticky note if you rushed the rinse. It fades fast and a proper soak basically erases it, but I want you to expect it rather than panic and think you got a bad batch. By day three it's gone and the coffee tastes clean.
Third — packaging is bare-bones. Genuine Keurig filters come individually sleeved; some compatible packs just bag all twelve loose together. Minor, but if you store them in a humid cabinet, keep them sealed up, because charcoal will happily start absorbing whatever's in the air long before it ever touches your water.
And one more, since I promised to expand here: I've found you really do have to track the calendar yourself. Some genuine setups pair with a reminder or a dial on the holder; the cheaper holders I've used don't always have that little month-tracker tab, so the swap date lives in your head or your phone. I just set a recurring reminder every two months and stopped relying on the part to remind me. Small thing, but it's the difference between a filter that's helping and one that's been quietly dead in your tank since spring.
The second thing I noticed after a few months
Here's the detail that actually sold me long-term. After running compatible cartridges in my home machine for the better part of a year — swapping on schedule because they were cheap enough that I didn't flinch — the inside of my tank and the brew quality were no different from the desk machine I'd kept on genuine Keurig refills. Same clean water. Same coffee. Same lack of scale crud when I peeked inside before a descale. The two machines aged identically. That's the whole ballgame for me: if the budget part and the brand part leave your Keurig in the same condition after a year, the brand part is just charging you for the logo on the bag.
Who should buy what
If you're someone who genuinely wants zero variance — every cartridge identical, individually wrapped, with the holder's built-in reminder dial — buy the genuine Keurig refills and don't think about it. There's no shame in paying the small premium to never wonder.
But for me? I want clean water, a machine that doesn't scale up, and a filter cheap enough that I actually change it every two months instead of guilt-stretching it. The compatible charcoal cartridges do exactly that for roughly half the annual cost — somewhere around $6 a year per machine versus $15 — and after more than a year of side-by-side use I can't taste or see the difference. So I keep buying the cheap ones. I'm on my fourth pack now, and I'm not going back.


