Troubleshooting & Analysis
The first pour tells you everything
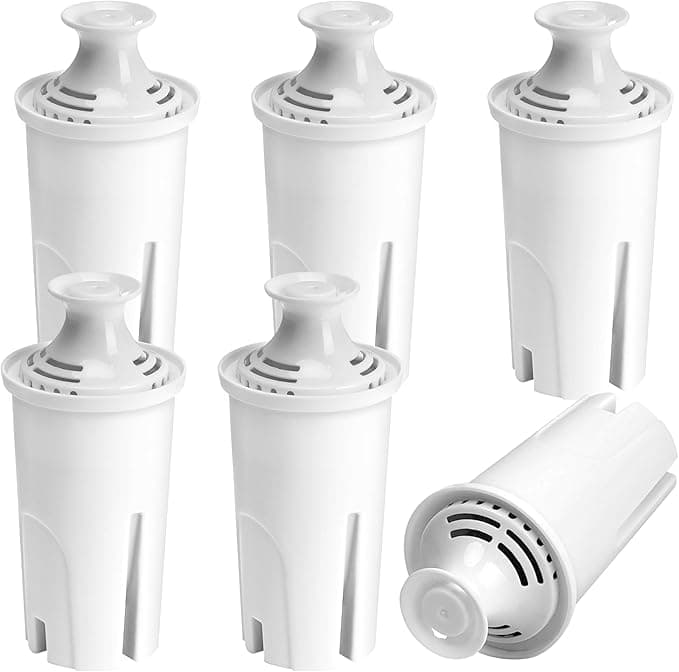
You know that little gurgle a Brita makes when the filter's seated right and water starts threading down through it? I sat there listening for it the first time I dropped a compatible cartridge into my Standard pitcher, half-expecting it to sit crooked or rattle. It didn't. It thunked into the well, I felt the rubber gasket grab, and the water started its slow drip-drip exactly like the blue OEM ones do. Honestly, my first thought was: that's it? That's the thing I was nervous about?
I'd been a loyal Brita-branded-filter buyer for years. Standard pitcher on the second shelf of the fridge door, the little leaf-shaped indicator blinking at me every two months like a guilt trip. And every time I'd reorder, I'd wince at the math. So this round I bought the compatible pack instead, ran it for a full cycle, and here's what actually happened.
The price gap is the whole reason you're here
Let me give you the number, because that's what you came for. A genuine Brita Standard pack runs you somewhere around $7 to $8 per filter when you buy the small packs — sometimes a hair under $6 if you grab a big box. The compatible cartridges I've been using land closer to $3 each, often less in the multi-packs. On a Standard pitcher you're swapping roughly every two months, six filters a year. That's a difference of maybe $25 to $30 a year out of one pitcher. Not life-changing money. But it's a restaurant dinner for doing the identical chore, and I've got better places for thirty bucks.
The performance is where I expected the cheap one to fall on its face. It didn't. Tap water here is heavily chlorinated — the kind where you can smell the pool when you fill a glass straight from the faucet. After the compatible filter, that chlorine smell is gone. Flat gone. The water tastes the same rounded, slightly-softer way it does off a name-brand cartridge. I did a dumb side-by-side with my wife, two glasses, no labels, and neither of us could pick the OEM one. That was the moment I stopped second-guessing the swap.
Setup, and the one thing that annoyed me
Install is the same three-step ritual you already know. Soak or rinse the new cartridge first — I held mine under cold tap for about 20 seconds and gave it a few shakes to knock the loose carbon dust out. Toss the dead one. Seat the new filter, then run a pitcher or two through and pour those first batches down the drain to wake the carbon up. That first throwaway pour will look a touch gray with fine black specks. That's normal carbon fines, not a defect. Don't panic and don't drink that first one.
Now the real downside, because there's always one. The fit is good but it is not OEM-perfect. The collar on the compatible cartridge is a whisker narrower than Brita's own, so when it first sits in the reservoir there's the tiniest bit of play before the gasket fully grips. The fix is nothing — you just press it down firmly with your thumb until it stops, instead of letting it drop and assuming it's sealed. Twice early on I got lazy, didn't press, and got a little unfiltered water sneaking around the side, which tastes like the chlorine you were trying to get rid of. Press it home and the problem disappears. But it's a small extra second of attention the genuine ones don't ask for.
The other nitpick: the packaging is cheap. Thin plastic sleeves, no fancy box, a sticker label that was slightly crooked. Doesn't touch the water quality at all, but if you like a product that feels premium in the hand, this isn't that. It feels like exactly what it is — a no-frills filter that does the job.
Why I don't slack on the swap anymore
Here's the part people skip. A water filter isn't a forever object — it's carbon that fills up. Once it's saturated, it stops grabbing chlorine and, worse, it can stop holding back the heavy metals it was catching, like lead leaching from old plumbing. A dead filter isn't neutral. It's a filter that's quietly let go of everything it was holding. That's the actual reason the two-month interval matters, and it's why I'm almost relieved the compatible ones are cheap — I swap on schedule now instead of stretching a tired cartridge an extra few weeks to save a couple bucks. Cheaper refills mean I actually keep my family's water clean instead of rationing.
So who should buy what
If you've got the kind of household where someone will absolutely forget to press the cartridge down, or you just want the exact factory part with zero variance, buy the genuine Brita and don't think about it. There's no shame in paying for the brand-name fit — it is a little more foolproof.
But me? After running these through my Standard pitcher cycle after cycle, getting water that smells clean and tastes the same as the blue-label stuff for less than half the price per filter — I reorder the compatible ones. I've done it three times now. The looser collar is a one-thumb fix, the packaging is ugly, and the water is honestly indistinguishable. For the money it saves on a chore I have to do six times a year anyway, I grab these every time.


