Troubleshooting & Analysis
Two boxes on the bathroom counter, and I had to pick
There I was, standing over the sink at like 10pm, holding the real Philips brush head box in one hand and the compatible 8-pack in the other. My W3 had been nagging me with that worn-out brushing reminder for a week. The Philips refills were $48 for a four-pack on the shelf — twelve bucks a head. The compatible set? An eight-pack for about $22. Same count as buying two genuine ones, except I was getting eight. I stood there longer than I'd like to admit, because the cheap one always makes you wonder: am I about to wreck a perfectly good toothbrush, or worse, my gums?
I'd already been burned once on a no-name phone cable that melted, so I'm not exactly the trusting type with off-brand stuff. But the math was loud. Twelve dollars a head, four times a year — that's roughly $48 annually just in brush heads, on top of what the handle already cost me. The compatible route drops that closer to $11 for the whole year if you stretch the eight-pack. So I bought the cheap one. And I've now run them on my actual W3 for the better part of a year. Here's the honest report.
The fit — this is where I expected it to fall apart
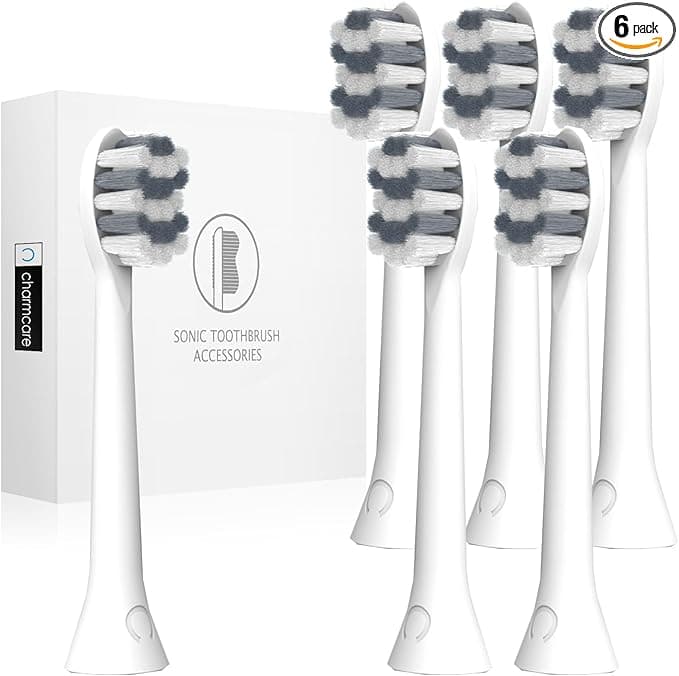
The whole thing lives or dies on whether the head seats on the metal shaft right. With these Philips-compatible heads, the install is exactly what you'd hope. You pull the old head straight off — it comes free with a firm tug, no twisting. I give the shaft a quick rinse under warm water to clear any gunk, dry it, then push the new head down until it clicks.
And here's my one real gripe up front: the click. On a genuine Philips head, that seat is crisp, a clean little snap you feel in your fingers. On the compatible ones, it's softer. The first time I installed one I actually pulled it back off because I wasn't sure it had locked. It had. The tolerance on the inner sleeve is a hair looser than OEM, so the seating feels less reassuring even though it holds rock solid in use. Once it's on, it doesn't wobble, doesn't rattle, doesn't fly off mid-brush. But that vaguer click bugged me for the first couple of swaps before I learned to trust it.
How they actually clean
This is the part I cared about most, because a toothbrush head that looks fine but cleans poorly is worse than useless — it gives you a false sense that you're getting your teeth clean while plaque just sits there. The compatible heads use DuPont bristles, the same nylon filament that goes into a lot of the name-brand stuff, and after my dentist visit a few months in I had zero new problems. No new pockets, no bleeding-gum lecture. My hygienist actually said my brushing was "doing its job," which from her is basically a standing ovation.
Day to day, the bristles grab the oscillation from the W3 motor and do the work. Back molars, the gumline, the rough patch behind my lower front teeth where tartar likes to set up shop — all handled. If I'm splitting hairs against a genuine head, the genuine bristles felt very slightly softer out of the box, gentler on the gums in week one. The compatible ones run a touch stiffer for the first two or three days. Not painful, just noticeable. They break in and soften up fast, and by the end of the first week I honestly couldn't tell the difference with my eyes closed.
The downsides, and I mean all of them
I promised an honest take, so let me not soft-pedal this. First, the packaging is cheap — thin cardboard, heads sealed in a basic plastic tray instead of the individually wrapped sleeves the genuine ones come in. It works, it keeps them clean, but it feels like a dollar-store experience next to the Philips box. Doesn't affect your teeth one bit. It just doesn't feel premium when you open it.
Second, that stiffer break-in I mentioned. If you have sensitive or recently-treated gums, the first few brushes on a fresh compatible head can feel a little scratchy. I'd run a genuine head for someone right after gum surgery. For the rest of us, three days and it's a non-issue.
Third — and this is the one that actually matters for your wallet long-term — the fade indicator. Genuine Philips heads have those blue bristles that lose color to tell you when to replace. The compatible ones have a similar fade strip, but on mine it wore lighter a bit faster than the cleaning power actually dropped off. So don't blindly trust the color. I just stick to the calendar instead: swap every three months, full stop. A saturated, splayed-out brush head isn't a small thing — worn bristles stop reaching the gumline and start dragging bacteria around instead of clearing it, and that's exactly how you end up with the gum damage and plaque buildup the warnings keep harping on. At eleven bucks a year, there's no reason to push a tired head past its date to save pennies.
So who should skip these?
If you just had periodontal work, or you're the kind of person who genuinely cannot stand even a slight difference in feel and the warranty-purist peace is worth $48 a year to you — buy the genuine Philips heads. No shame in it. The OEM experience is marginally more polished from box to bristle, and that's real.
But for me? I've reordered the compatible eight-pack twice now. Same DuPont bristles, same clean teeth at my checkups, same three-month rhythm — for the price of two genuine heads I get a full year and then some. The softer click took some getting used to and the packaging is forgettable. Neither of those touches what the brush actually does in my mouth. Look, I went in expecting to write a cautionary tale, and instead I keep buying them. That's the most honest endorsement I've got.


