Troubleshooting & Analysis
The smell that told me I'd waited too long
I knew something was wrong before I saw it. My J7+ was making this strained, higher-pitched whine on the kitchen tile — the sound a vacuum makes when it's working twice as hard to move half the air. And there was a smell. Warm dust, faintly electric, the kind that means a motor is fighting a clog instead of pulling through clean media. I pulled the bin, popped the filter out, and it was a felted gray brick. Pet hair wound so tight around the main brush that the bristles had basically disappeared. I'd been running it like that for who knows how long, telling myself it "still picked stuff up."
That's the moment most people meet me — the friend they text after their robot starts acting sick. So let me tell you what I actually did about it, because the fix cost a lot less than I'd braced for.
The price math that finally annoyed me into switching
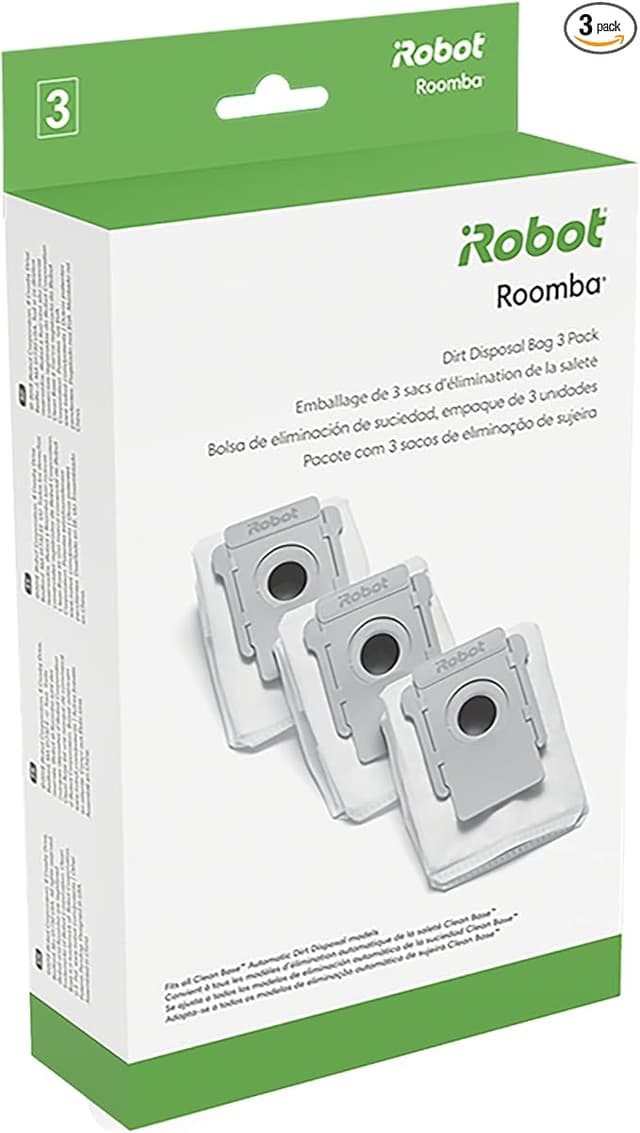
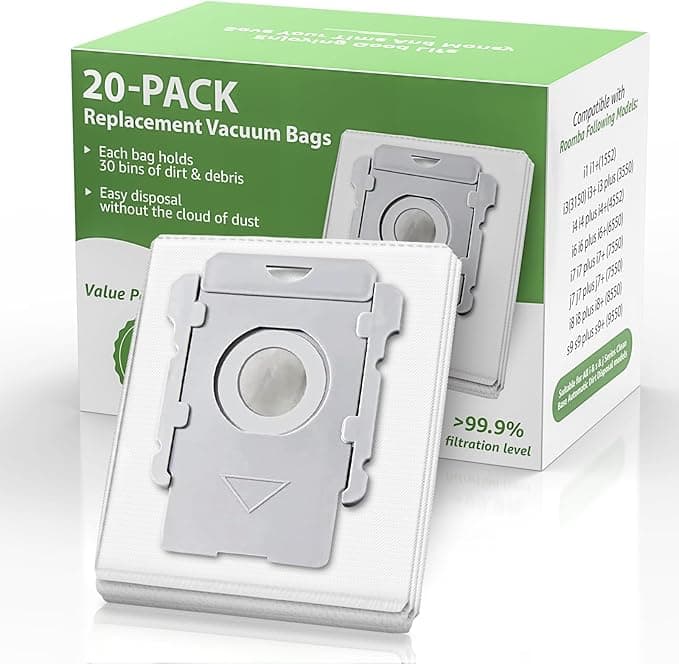
Here's the thing iRobot doesn't put on the front of the box. A genuine replacement kit — filter, a couple of edge brushes, a fresh main brush, maybe a multipack of dirt-disposal bags — runs you somewhere in the $40 to $50 range every time you restock, and on the J9+/J7+ line the OEM dust bags alone are stupidly expensive for what amounts to a paper sack. I added it up over a year once. Between filters every couple months, brushes wearing down, and bags I burn through faster because I have a shedding dog, I was looking at well over a hundred dollars a year just to keep one robot breathing.
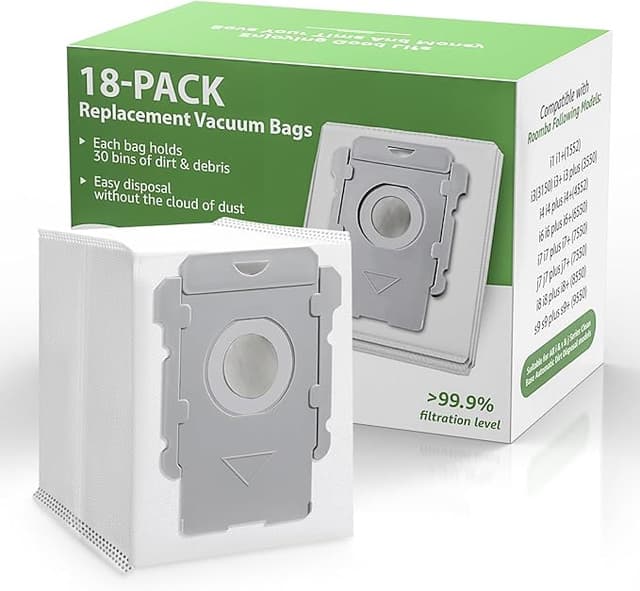
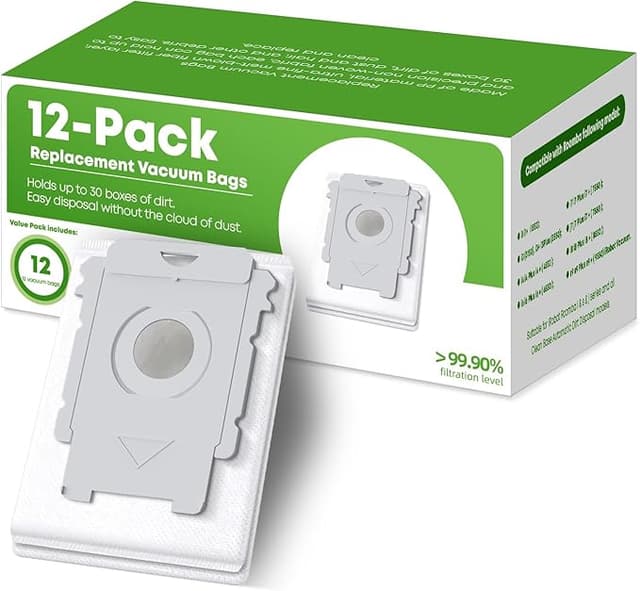
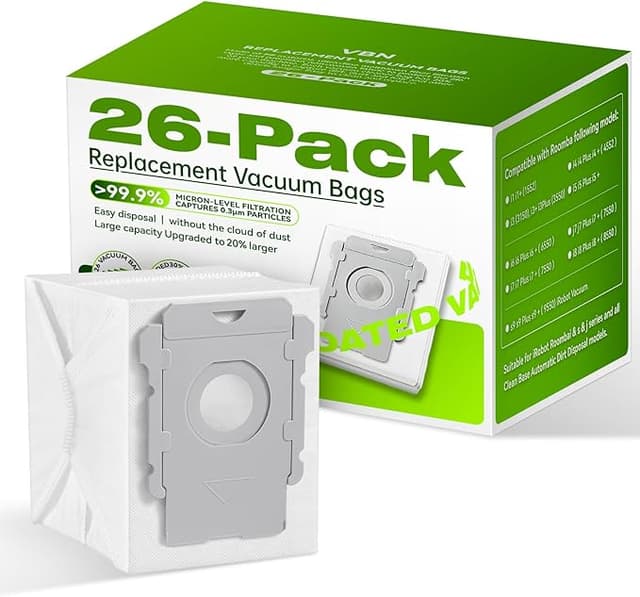
The generic kit I switched to was about $20 for the equivalent bundle. Same filter, same brush geometry, a stack of bags. Call it $25 to $30 a year less than feeding it OEM parts, sometimes more depending on how aggressive you are about swaps. For a part that gets crushed, clogged, and tossed on a schedule, paying double for the brand stamp stopped making sense to me real fast.
Does it actually fit a J7+? Yeah — with one honest caveat
This was my worry too. Robot parts have those little tabs and connector clips, and if the aftermarket version is off by a millimeter the bin won't close or the brush won't lock. I powered the unit off, pulled it off the dock, emptied and removed the bin, and released the side panel to get at the old brush. The generic main brush dropped into the holder and the yellow end caps seated with the same click the original gives you. The filter slid into its slot flush. No screwdriver fight, no forcing it.
The caveat: the frame on the compatible filter is a hair looser than OEM. Not loose enough to rattle around or leak — it locks in and stays — but you can feel the tolerance is a touch less precise when you push it in. First time I noticed it I assumed I'd grabbed the wrong size. I hadn't. It's just built to a slightly cheaper standard, and after four months of daily runs it's held its shape fine. The bags, similarly, have a stiffer cardboard collar than iRobot's, and one of them in my first pack went in a little crooked until I reseated it. Minor. But I said I'd tell you the real stuff.
How it actually cleans, compared to the brand part
On pickup — the thing you actually care about — I genuinely can't tell the difference on a day-to-day clean. Tile, low-pile rug, the hallway where the dog tracks everything. The new main brush grabbed hair instead of skating over it, the whine was gone, suction felt like the machine did out of the box. That sad warm-dust smell never came back.
Where it's a touch behind: the filter media feels marginally thinner than OEM if you hold both up to the light, and I'd believe it loads up a week or two sooner on really fine dust. So I just check it more often and swap it on the early side — which, at $20 a kit instead of $45, I can afford to do without flinching. Honestly that's the quiet upside nobody mentions. When the replacement is cheap, you actually replace it on time, and a fresh cheap filter beats a tired expensive one every single day.
Why letting it ride is the real mistake
Go back to that whine for a second. A clogged filter and a hair-wrapped brush don't just clean worse — they make the motor pull harder against the blockage, and that's where you cook a robot. Heat builds, the system strains, and you go from a $20 maintenance swap to a dead unit and a costly repair or replacement. The other half of it is what you're breathing. A saturated filter stops trapping dust and pet dander and starts puffing a fine cloud of it back into the room every time the robot runs. If anyone in your house has allergies, a packed filter is quietly working against you. Mine was. The week after I swapped everything, the bedroom just felt less dusty, and that's not a placebo I'm trying to sell you — it's the whole reason you run the machine.
Quick install note from my own bench, since the smell scared me into being thorough: lay down good light, wear a glove if you don't love handling clotted pet hair, and when you pull the worn brush, take ten seconds to wipe the connectors and the bearing pegs before the new one goes in. Mine had a packed ring of grime around the end cap that would've chewed up a fresh brush in a week. Clean it, seat the new parts, drop the bin back, done in under five minutes.
Who should skip this — and why I keep buying it
If your J9+ or J7+ is still under warranty and you're the type who'd rather not give iRobot any reason to push back on a claim, buy the OEM kit and keep your receipts. Same goes if absolute peak filtration matters to you for a medical reason — get the brand media and swap it on schedule. That's a real answer for a real person, not a dodge.
But for me, with an out-of-warranty robot doing ordinary house duty and a dog who treats my floors like a shedding zone? I grab the generic kit. It fit, it killed the whine, it pulls dirt like the original, and it costs roughly half. The frame's a little looser and the media's a little thinner — I know that, I told you that — and for twenty-some bucks doing the same job, I'd buy it again. I already have. Twice.