Troubleshooting & Analysis
Standing in the aisle doing the math
There's a specific kind of stupid I feel when I'm holding a Dyson part in one hand and a no-name version of the same part in the other. The Dyson box was clean, blue, confident. The compatible one had a typo on the back. And I stood there in the vacuum section longer than any grown adult should, because my V11 had genuinely lost suction over the past couple weeks and I knew the filter was the culprit — I just didn't know which filter to trust with it.
I'd been here before with my fridge filter and gotten burned, so I was gun-shy. But I did the thing I always tell my friends to do: I looked at the actual price difference, not the brand on the box. And the gap was wide enough that I bought the cheap one, drove home, and ran it for four months before writing a word of this. Here's what I found.
The price gap is the whole argument
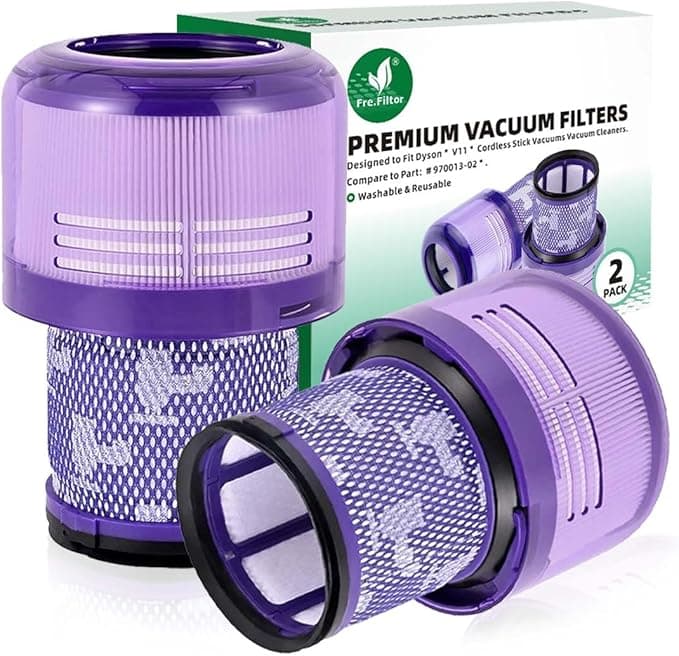
A genuine Dyson V11 filter runs you, depending on the day and the seller, somewhere in the $25–$30 range for a single piece. The washable compatible one I bought was about half that, and the listings that throw in a two-pack make the per-filter cost almost laughable next to OEM. If you're a household that actually vacuums — pets, kids, a shedding rug — you're swapping or deep-cleaning that filter every few months. Over a couple years that's the difference between buying one nice dinner out and buying four or five replacement filters. Put that way, I wanted a very good reason to pay double. I never found one.
And to be clear about what a Dyson filter does and doesn't do — it's a foam-and-mesh post-motor piece that catches the fine dust the cyclones miss. It's not some precision-machined miracle. It's a cleanable filter. That matters, because it means the bar for a compatible version to clear is "fit right and seat tight," not "replicate aerospace engineering."
Does it actually fit?
This was my real worry. The V11 filter twists down into the top of the unit and you feel it click home, and I half-expected the aftermarket one to sit loose or cross-thread. It didn't. I popped the dust bin off, pulled the tired old filter out, dropped the new one in, and gave it the quarter-turn — and I got the same reassuring little seat that the Dyson gave me. No gap you could see light through. No wobble.
I'll be honest about the one thing: the plastic collar on the compatible filter felt a hair less precise than OEM. Not loose — just a touch more "molded in a hurry." It tightened down flush and it has stayed put through four months of getting yanked in and out, but if you're someone who notices the difference between a $3 pen and a $30 pen, you'll notice it here too. It doesn't affect the seal. It just doesn't feel as expensive, which, well, it isn't.
How it actually cleaned
The suction came back the day I put it in. That's the headline. My V11 had been wheezing — that telltale drop where the motor note climbs and the brush bar stops grabbing — and a fresh filter fixed it the same way an OEM one would have. I ran it on the high-pile rug in my living room, which is the hardest test I've got, and it pulled the same lines and held the same pull as I remembered from when the vacuum was new.
Where's it a touch behind? After a heavy cleaning session, washing it and getting it bone-dry felt like it took a little longer than my old genuine filter did — the foam seems to hold water a bit more stubbornly. Not a dealbreaker, but a real thing. Which brings me to the one rule you cannot skip.
The part where I save you from yourself
Rinse it under cold water, no soap, until the water runs clear — and then let it dry completely. I mean a full 24 hours, longer if your house is humid. I know you want to slap it back in and keep going. Don't. A damp filter back in the machine is how you choke airflow and cook the motor, and that's true of the real Dyson filter too. This isn't a compatible-filter problem; it's a Dyson-filter problem, full stop.
And don't ignore a clogged one limping along. A saturated, gunked-up filter is the thing that kills suction first and overheats the motor second, and the motor is the expensive part. The filter — genuine or not — is the cheap insurance. So the worst outcome isn't buying the wrong brand of filter; it's running a dead one for too long because you didn't want to spend the money. The compatible one makes that excuse a lot harder to justify.
So who should skip it?
If your V11 is under warranty and you're the type who worries a third-party part could give Dyson an excuse to deny a claim, buy genuine and sleep easy — that peace is worth the markup for some people, and I won't argue you out of it. Same if you only deep-clean once a year; the savings barely show up, so just grab OEM and forget it.
But me? I vacuum constantly, I swap filters on schedule, and I'm not paying brand-name money for a piece of washable foam that does the exact same job. The fit was right, the suction came back, and the only downsides I found were a slightly cheaper-feeling collar and a slower dry time — neither of which my floors care about. For roughly half the price, I bought it again the second time around. And I'll buy it the third.


