
Troubleshooting & Analysis
Is Your Bissell Vacuum Struggling? Identifying Common Problems
We’ve all been there: you pull out your trusty Bissell vacuum, only to find that it’s lost its powerful suction, or worse, it’s emitting a pungent odor that makes cleaning feel like a chore rather than a solution. With the model Bissell BISSELL-1618-B0DT8SWSPP, users often report symptoms like blinking lights, unwanted smells, and other frustrating errors. If you’re nodding your head in agreement, you’re not alone. Let’s delve into these problems and uncover effective solutions.
Troubleshooting Your Bissell Vacuum
Before you consider replacing parts or buying a new vacuum, it’s vital to troubleshoot the common issues that can affect performance.
- Blinking Lights: This often indicates a blockage or a filter that needs cleaning or replacement. Check the canister and hose for any clogs.
- Loss of Suction: If you notice a decrease in suction power, start by checking the filter. A clogged filter can significantly reduce performance.
- Bad Odors: If your vacuum smells like wet dog or something worse, it may be time to clean or replace the filters and check for debris stuck in the vacuum.
How to Reset the Light
To reset the blinking light on your Bissell vacuum, follow these steps:
- Unplug the vacuum from the wall.
- Remove the canister and empty it completely.
- Check all filters and, if necessary, wash or replace them.
- Reassemble everything and plug the vacuum back in.
- Turn on the vacuum to see if the light has stopped blinking.
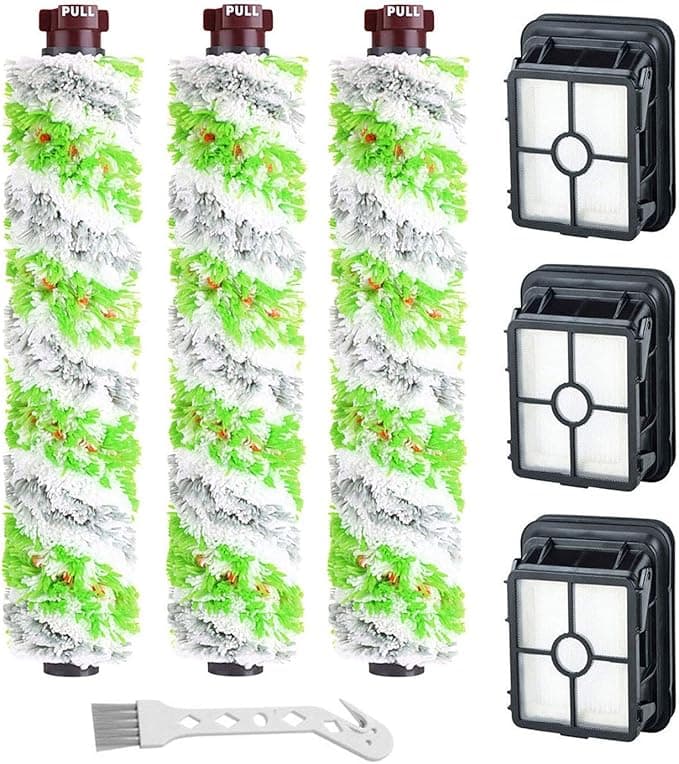
Cost Analysis: Original vs. Compatible Parts
When it comes to replacing your vacuum's Filter R, you may wonder about the cost implications. Here's a simplified breakdown of the yearly costs associated with purchasing original Bissell parts versus our compatible filters.
| Part Type | Cost Per Year (Original Brand) | Cost Per Year (Our Compatible) | Annual Savings |
|---|---|---|---|
| Filter R | $30 | $15 | $15 |
As seen in the table above, switching to our compatible Filter R can save you $15 annually. These savings add up, allowing you to maintain your vacuum without breaking the bank.
Installation Pro-Tips for Filter R
Replacing the Filter R in your Bissell vacuum is a straightforward process, but following these pro-tips can ensure optimal performance:
- Preparation: Gather your tools and have a clean workspace ready.
- Flush for 3 Minutes: Before installing the new filter, run water through it for three minutes to remove any dust or debris.
- Click Until You Hear a Snap: When inserting the filter, make sure to push it in firmly until you hear a snap, ensuring it’s securely in place.
- Double-check Connections: After installation, inspect all connections to make sure they're secure to prevent future suction issues.
FAQ Section
Will this void my warranty?
No, using compatible parts generally does not void your warranty. However, it’s always best to check the specific terms outlined by Bissell.
How long does it last?
The lifespan of our compatible Filter R can vary based on usage, but on average, it should last about 6-12 months with regular cleaning. Regular maintenance can help extend its life.
Can I wash the filter instead of replacing it?
While washing the filter can temporarily restore suction, it’s not always sufficient for thorough cleaning. Over time, filters can become less effective, and replacing them ensures you're getting the best performance from your vacuum.
Conclusion
Maintaining the performance of your Bissell BISSELL-1618-B0DT8SWSPP vacuum doesn’t have to be a daunting task. By addressing common issues like loss of suction and odor, and understanding the cost benefits of replacing your Filter R, you can keep your vacuum running smoothly. Armed with these troubleshooting tips and cost-saving insights, you can enjoy a cleaner home without the hassle. Happy cleaning!
